Learn how to detect and slow down credential stuffing by throttling logins on the durable Device ID and adding friction on bots and masked logins.
Credential stuffing is the same stolen-password list tried against many accounts, usually from scripted, masked infrastructure rotating IPs to stay under per-IP limits. ShieldLabs gives you two things that are hard to rotate away: the risk signals on each login, bots and automation included, and the link between the many accounts one device or one local IP touches. Use both to add friction on top of your own login rate limits.
Credential stuffing replays username and password pairs leaked from one breach against the login forms of unrelated services, betting on password reuse. The attempts fan out across many accounts from masked, IP-rotating infrastructure so no single account or address crosses a per-account or per-IP limit.
The keys that rotate cheaply reset on demand: the public IP with every proxy hop, and the visitor_id (one device plus one cookie) whenever cookies are cleared. The server-derived Device ID holds through cleared cookies, incognito and IP rotation, so a throttle keyed on it keeps counting across all three. Five layers add friction on top of your own counters:
Layer
What it answers
Where you read it
Latency
Account
”How many accounts has this device already signed in to?”
The History API by device_id: the distinct user_hid values
On demand
Identification
”Is this the same device, even after cleared cookies, incognito, or a new IP?”
”Are the accounts this device signs in to run by one person, or taken over?”
Multi-accounting and Account takeover on those users, in the analytics dashboard, the API and webhooks
When detected
The Risk Score (0-100) reads the login’s risk signals. Stuffing runs are scripted, so bot and automation signals lead: Browser Automation (browser_automation, 60) and JavaScript Disabled (javascript_disabled, 90, a headless or automated client) each put a login in the Dangerous band on their own, alongside masking signals such as Datacenter IP, VPN, Proxy, Tor and Anti-detect Browser. On the accounts a run does get into, ShieldLabs detects Account takeover, and the Multi-accountingHigh-Risk Event links the accounts one device signs in to. The aim is to raise the cost of each attempt until the run is no longer worth completing.
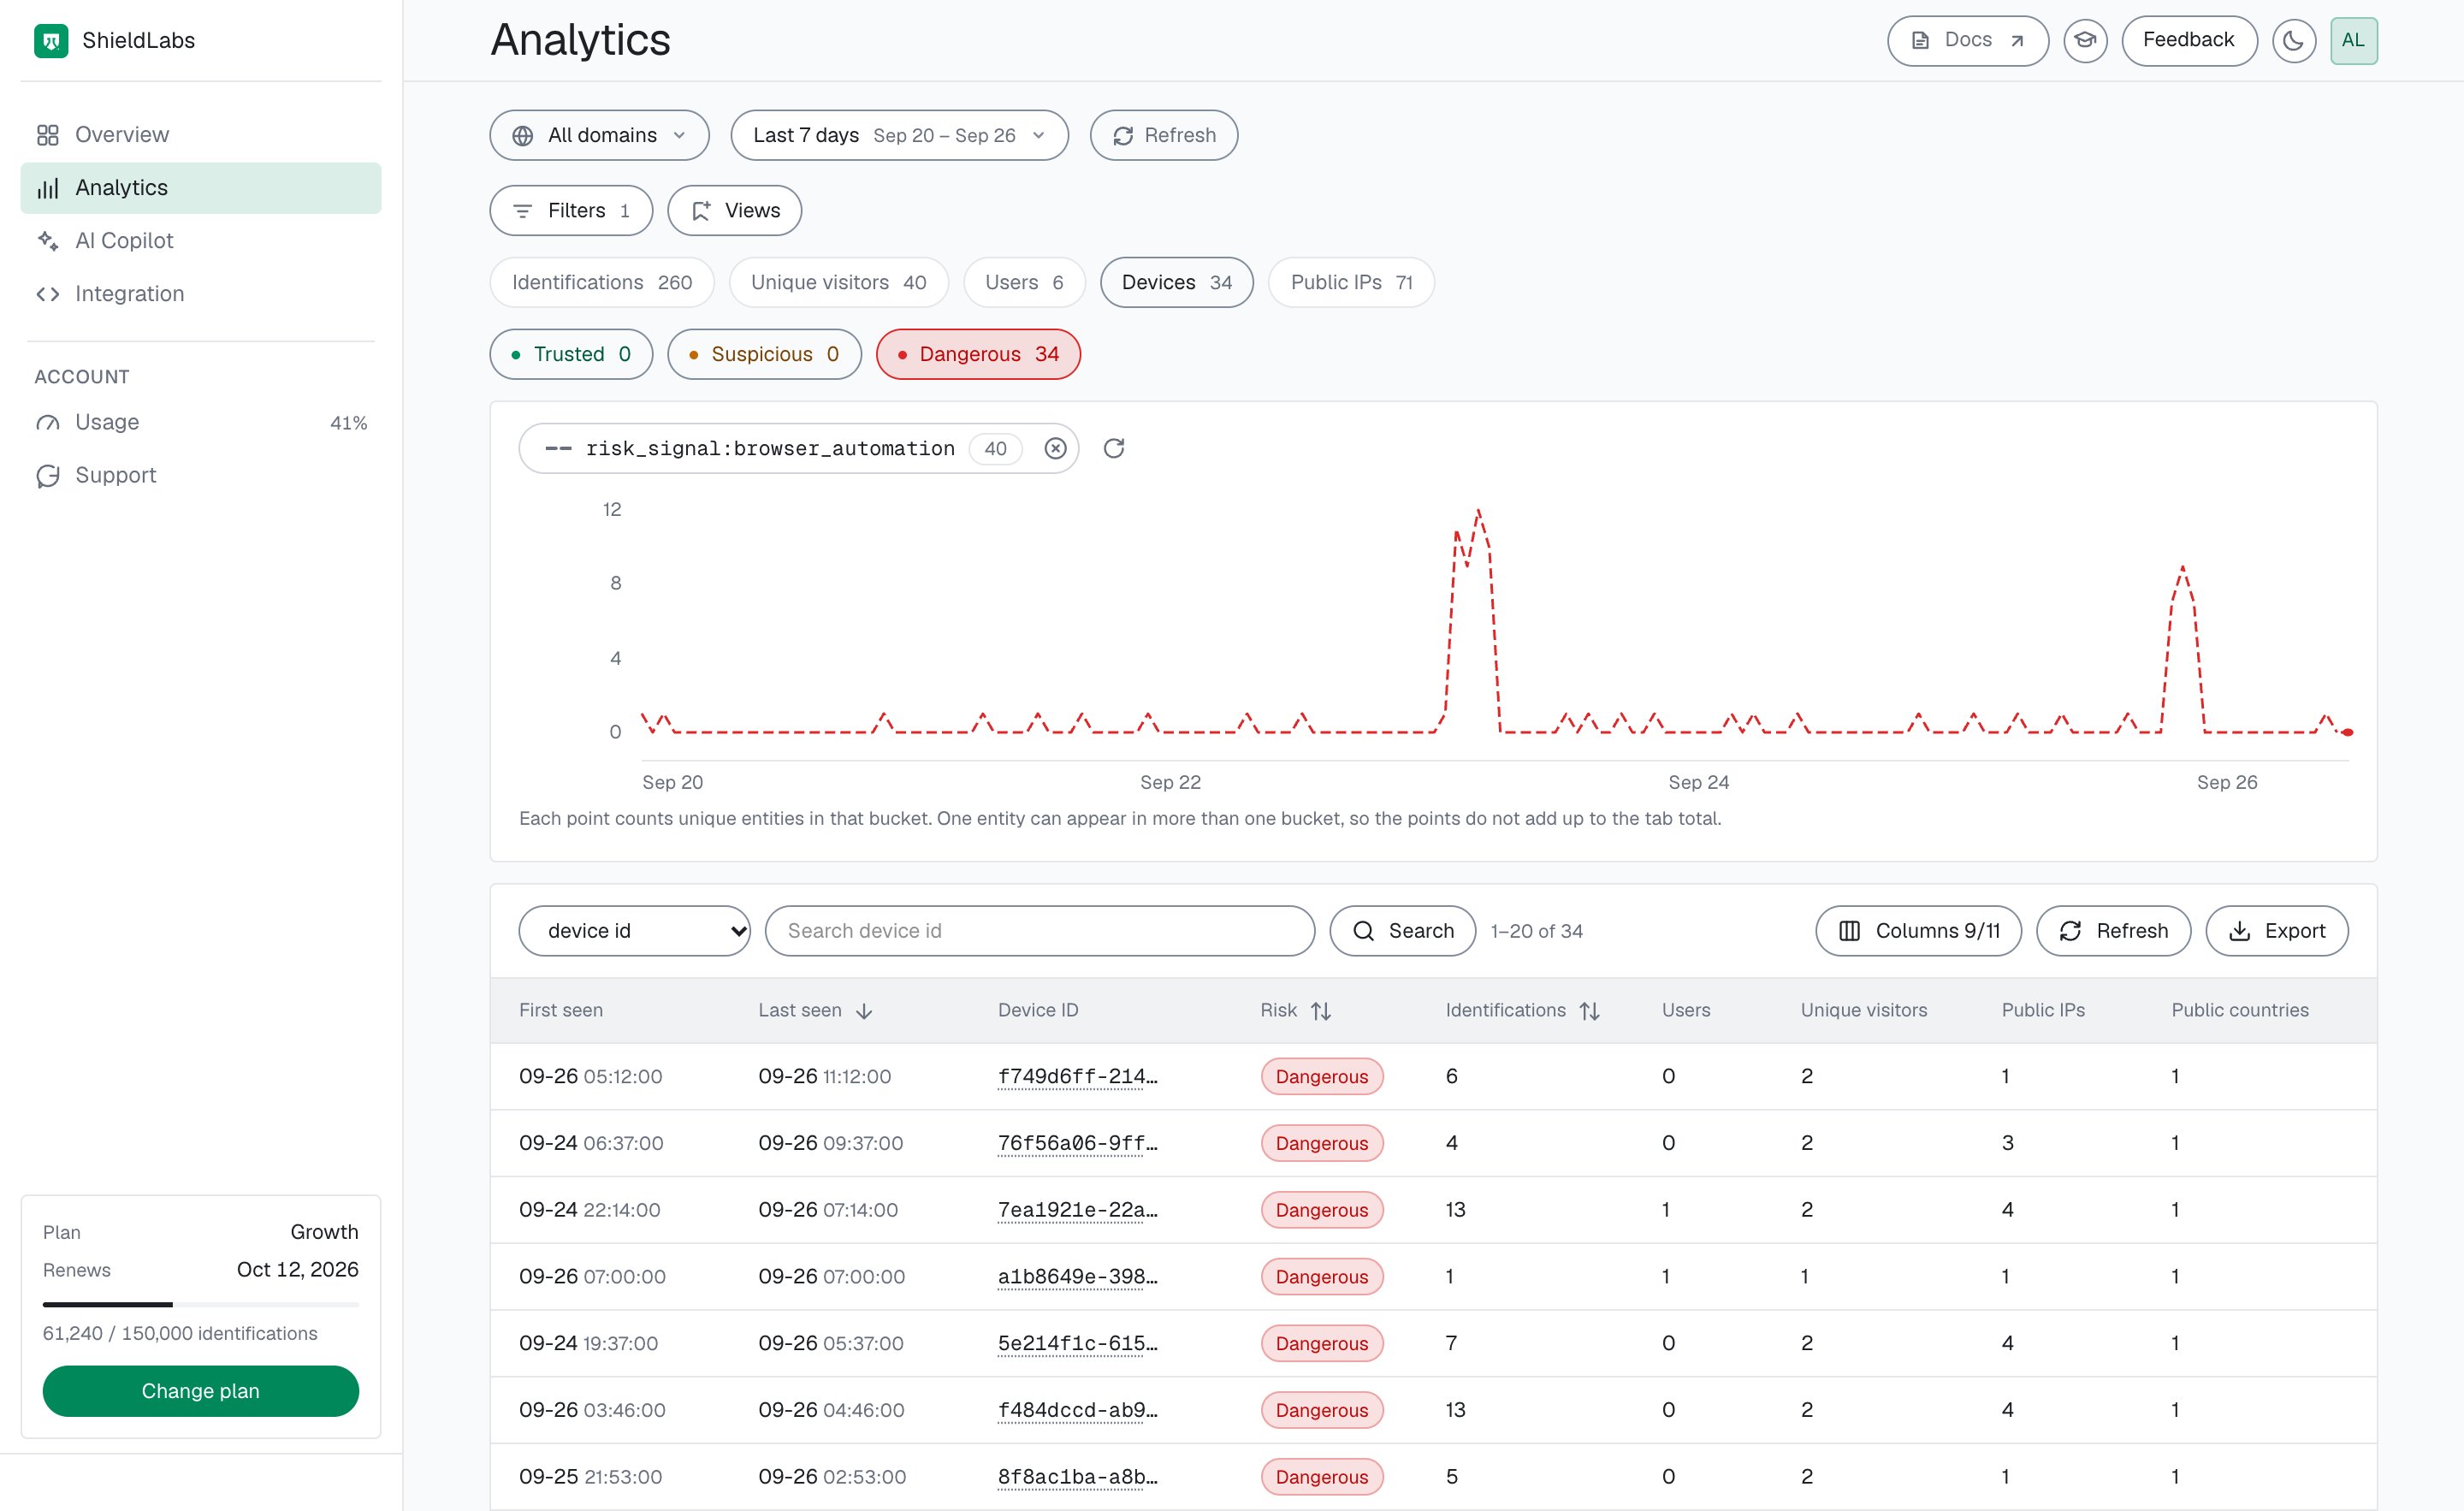
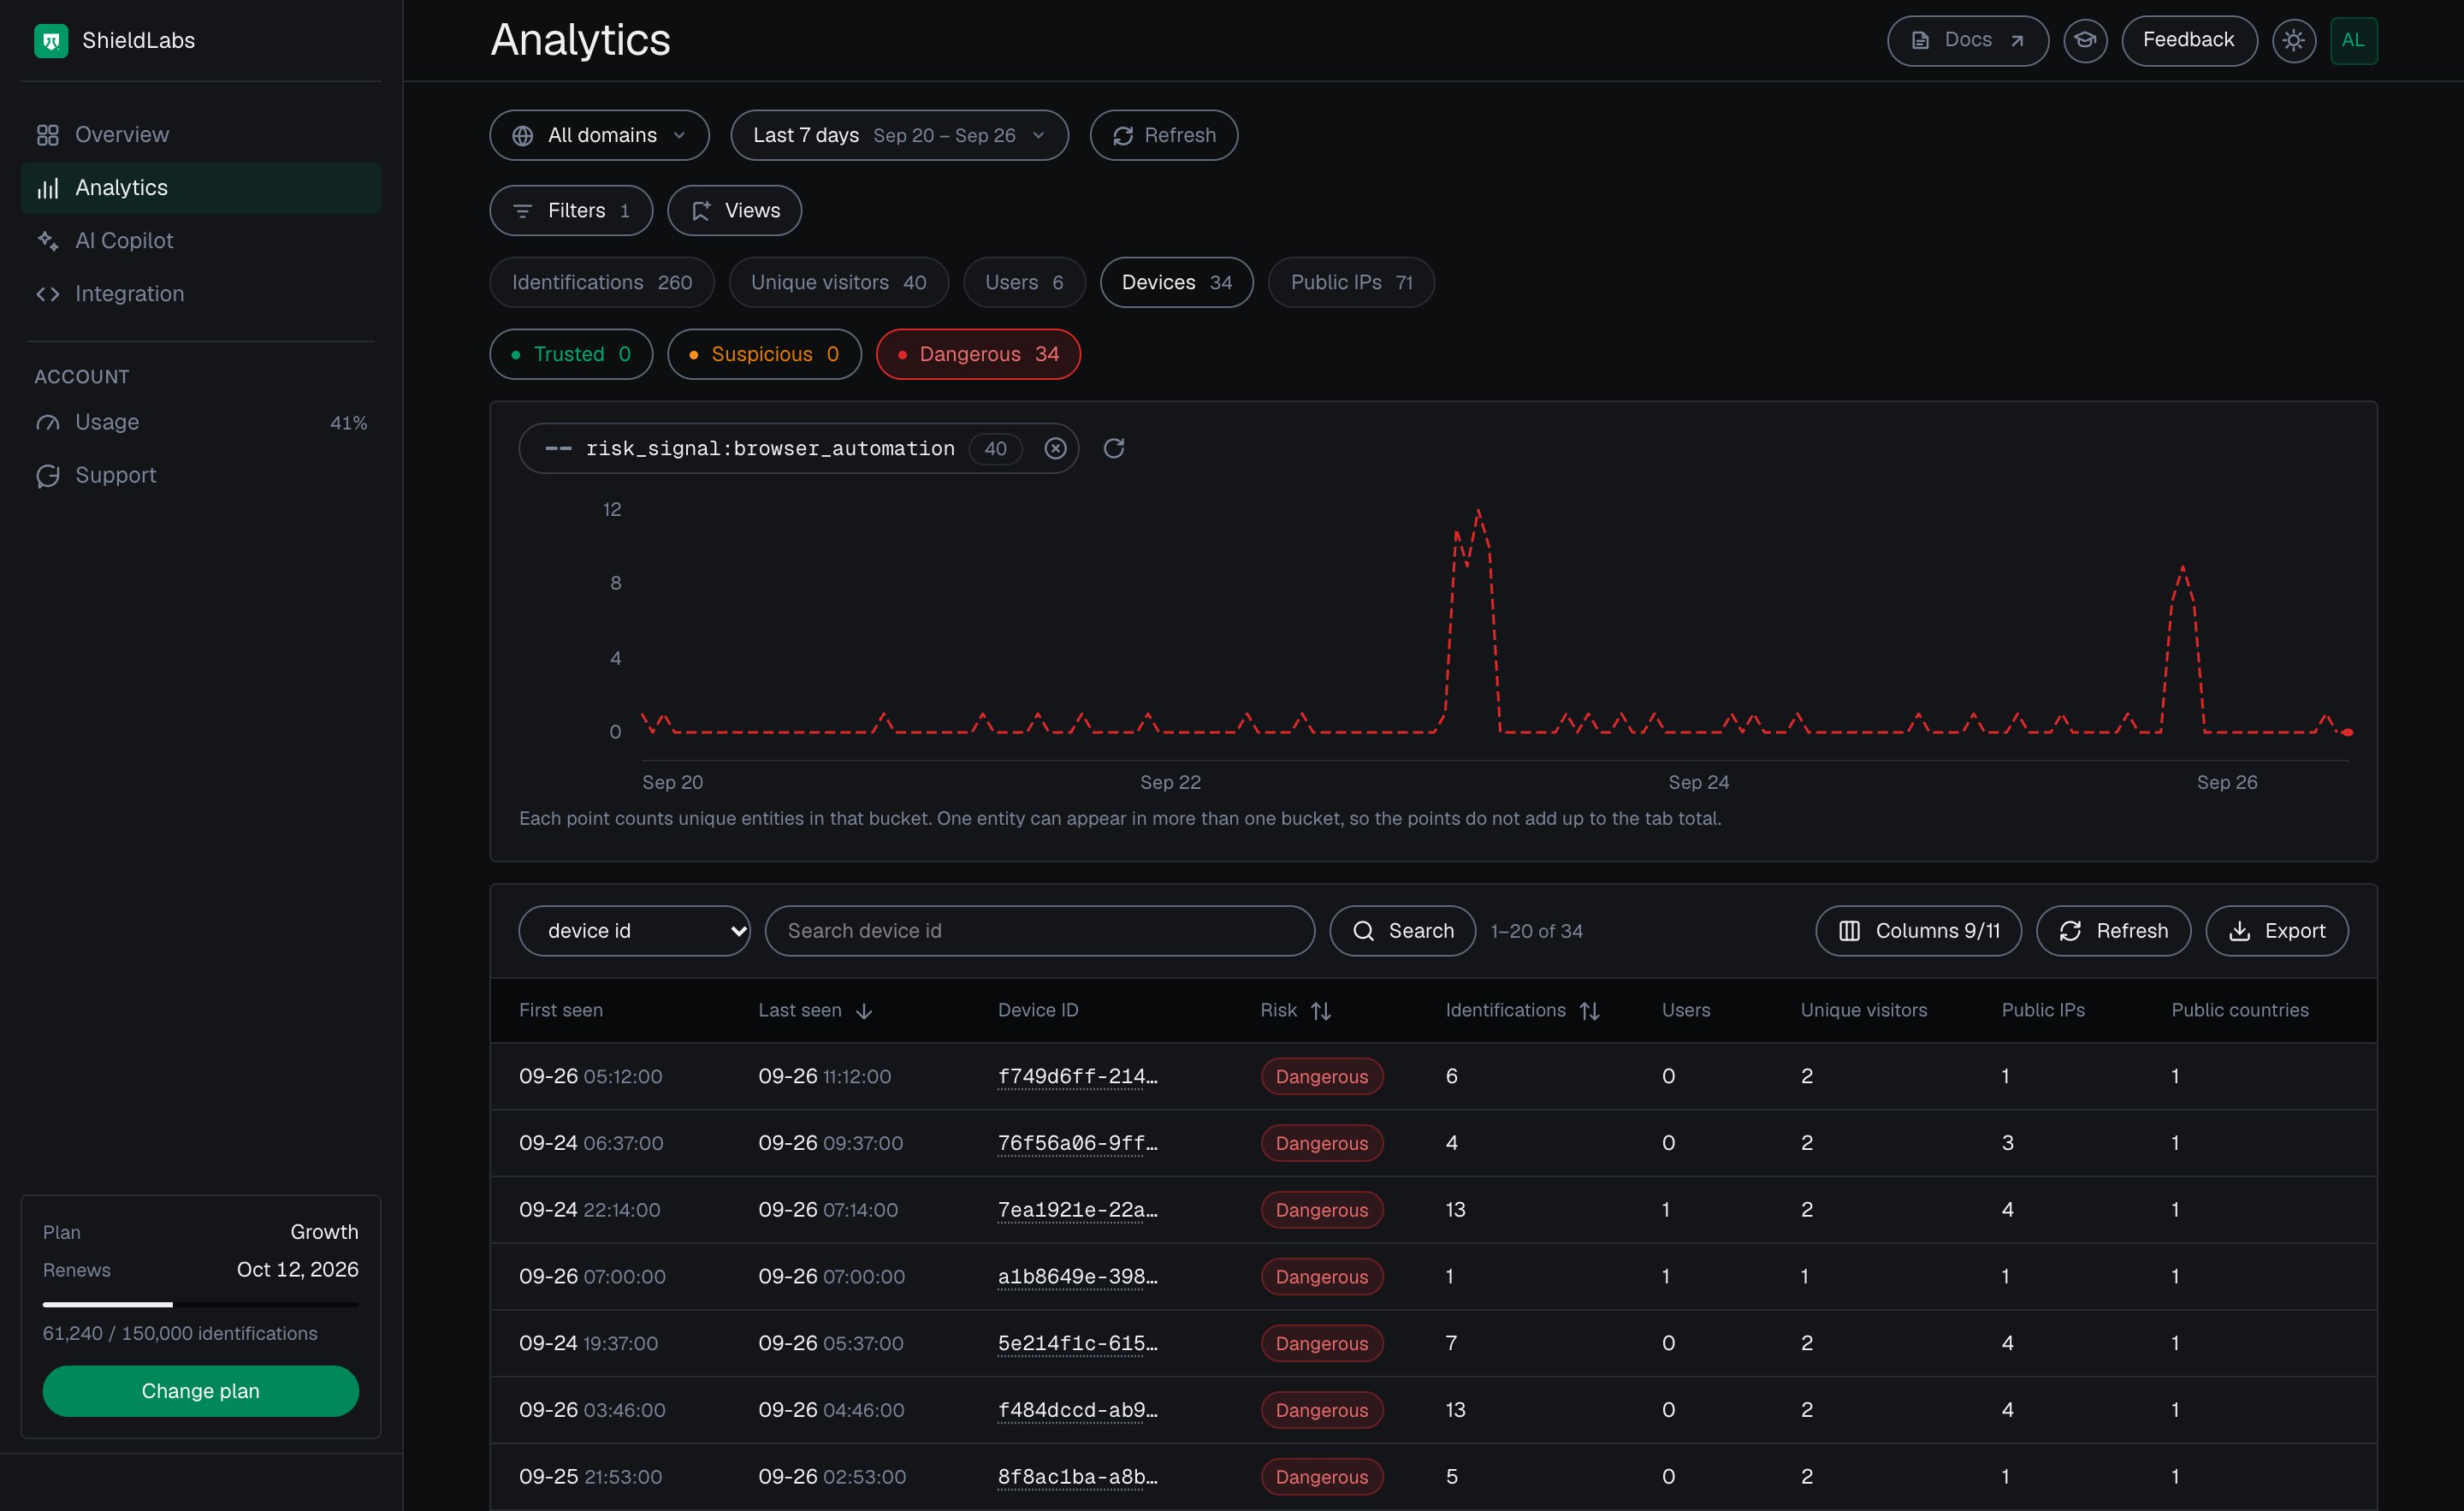
Devices with automated sessions in the period, in the analytics dashboard.
Pair ShieldLabs with your failed-attempt counters and login rate limits. ShieldLabs adds what those counters cannot see: the risk signals on each login, bots and automation included, and which accounts a single device or local IP has touched. You choose the action for each case and act on it in your backend.
Key your failed-attempt counter on the durable Device ID, not just the IP, and read the Risk Score of each login on top. The policy: one device past your attempt limit gets rate-limited even across rotated IPs, a Suspicious-band score adds a CAPTCHA, a Dangerous-band score or an automated login adds a second factor, and a login that arrives without an identification is treated as unverified. The outcome is that each attempt costs more until the run is no longer worth completing. A throttle keyed only on the IP, a cookie, or a session fails here: IPs rotate cheaply, cookies get cleared, and sessions run incognito, so every one of those keys resets and the count never builds. Keying the throttle on the Device ID is what makes that rotation stop working.
Start Free with 5,000 identifications, one time, no credit card, or log in. In the analytics dashboard, add the domain you want to protect under Integration > Domains, then open Integration > API keys and copy its keys with the copy button next to each. The Public Key loads the snippet in the browser. Keep the server credentials on your backend: the Private API Key reads the History API, and each webhook endpoint has its own whsec_… signing secret. See API keys and Integration.
2
Identify every login attempt
Wire the snippet into your login step and call forceCheckAnonymous when the user starts filling the login form (its first focus), then post the request ID with the credentials (the Login and 2FA tutorial shows the pattern). onInitialized fires when the check starts, before the snippet has sent the identification, so do not navigate away inside it. Each attempt then gets its own identification, even from a browser checked a moment ago; a plain checkAnonymous would skip repeat checks in the same visit within five minutes, and every call counts as one identification. After a successful sign-in, pass the hashed User HID (forceCheckAuthenticatedUser on the first signed-in page, then checkAuthenticatedUser), so the account-level layer has its key. On your server, read the scored result with the shared waitForScore helper: poll the cache, then fall back to a History API read by request_id.
3
Throttle on the Device ID, add friction on risk signals
Key your failed-attempt counter on the Device ID so rotating IPs no longer resets the limit, then layer band friction on top. The Risk Score already rolls the automation, datacenter, VPN, proxy, Tor and anti-detect signals into one number, so branch on the band, and on the signals[].name slugs or detection_flags when one signal matters on its own.
Throttle by Device ID across rotated IPs
app.post('/api/login', async (req, res) => { const { username, password, shieldlabsRequestId } = req.body; // The login is identified with forceCheckAnonymous: there is no User HID to match yet. const risk = await waitForScore(shieldlabsRequestId, 1500); const deviceId = risk?.device_id; // Your own counter, keyed on the durable Device ID (holds through IP rotation). // A missing identification or the all-zero Device ID is "no device": key it on the IP. const counterKey = deviceId && deviceId !== NIL_DEVICE ? `dev:${deviceId}` : `ip:${req.ip}`; const attempts = await bumpAttemptCount(counterKey); // 15 min window // 1. One device hammering many logins, even across rotated IPs and accounts. if (attempts > YOUR_DEVICE_ATTEMPT_LIMIT) { return res.status(429).json({ action: 'rate_limited' }); } // 2. No identification (the snippet did not run, or a scripted client skipped it), // the 999 rate-limit marker or an all-zero Device ID: unverified, never clean. if (!risk || risk.risk_score > 100 || risk.device_id === NIL_DEVICE) { return res.status(200).json({ action: 'require_captcha' }); } // 3. Bots and automation, then the band. A raised score raises the cost of a try. const flags = risk.detection_flags ?? {}; if (flags.browser_automation || flags.javascript_disabled || band(risk.risk_score) === 'Dangerous') { return res.status(200).json({ action: 'step_up_2fa' }); } if (band(risk.risk_score) === 'Suspicious') { return res.status(200).json({ action: 'require_captcha' }); } return continueLogin(username, password, res);});
An all-zero Device ID (00000000-0000-0000-0000-000000000000) means no usable device signals reached ShieldLabs for that identification; the rate-limit marker (Risk Score 999) is one such case. Route it to review rather than allowing it. For the throttle, treat it as “no Device ID”: key the counter on the IP and the targeted account instead, so many distinct attempts do not collapse onto one zero key.
Combine keys for defense in depth: throttle on the Device ID (holds through IP rotation), on the local IP and on the account being targeted; a stuffing run trips at least one even when it rotates the others. The local IP is local_ip.ip on the webhook, the address the browser itself reports, distinct from public_ip.ip, which rotates through proxy pools. The analytics dashboard shows this value as Local IP.
4
Branch on specific tells with detection_flags
When policy depends on a specific condition rather than just the band, read the boolean detection_flags on the webhook: browser_automation, javascript_disabled, datacenter_ip, abuser, tor, anti_detect_browser, ip_mismatch, and more. These are stable booleans built for branching, so a rule like “datacenter plus abuser flag, harder challenge” reads cleanly. A masked login can also show detection_flags.ip_mismatch: true: the public IP and local_ip are different addresses. Treat it as supporting evidence, not a trigger on its own: it is informational, adds nothing to the Risk Score, and can be ordinary on mobile networks, so compare local_ip.country with public_ip.country rather than branching on the flag alone. Use the signals array ({ name, weight }) for the explainable breakdown.
A legitimate customer on a corporate VPN logs in every day. Masking raises friction (a CAPTCHA, a second factor); reserve outright rejection for the combination of masking or automation, a high failed-attempt count, and a device or IP that already reaches many accounts.
5
Catch the fan-out with High-Risk Events
The defining shape of stuffing is one source reaching many accounts. ShieldLabs detects the account-level results on your users as High-Risk Events, each at Medium or High confidence: Multi-accounting links the accounts one device or network signs in to, and Account takeover marks accounts that a run got into. Both are keyed on the User HID you pass with checkAuthenticatedUser and are available in the analytics dashboard, the API and webhooks. Scripted attempts show up on each login’s score through Browser Automation and the other risk signals, including anti-detect browser detection.When a Multi-accounting or Account takeover event arrives for a user through the API or webhooks, or when you review it in the analytics dashboard, act on the account: add the User HID, with the devices and local IPs linked to it, to a watchlist in your datastore, and at the login check the incoming user_hid and device_id against it. You choose the action for each case. The History API returns every device an account has used, by user_hid. You can also reconstruct a device’s fan-out live from the History API: the shared accountsBehindDevice helper counts the distinct accounts on one device and leaves out "anonymous".
// Call it inside the login handler, after the guard; a non-null result is the action.async function fanOutAction(deviceId) { const accounts = await accountsBehindDevice(deviceId).catch(() => null); if (accounts === null) return 'require_captcha'; // a failed History read is unverified if (accounts >= YOUR_ACCOUNT_FANOUT_LIMIT) return 'step_up_2fa'; return null;}
History reads on account.shieldlabs.ai and the webhook stream are free. Lean on those sources for the bulk of the work.
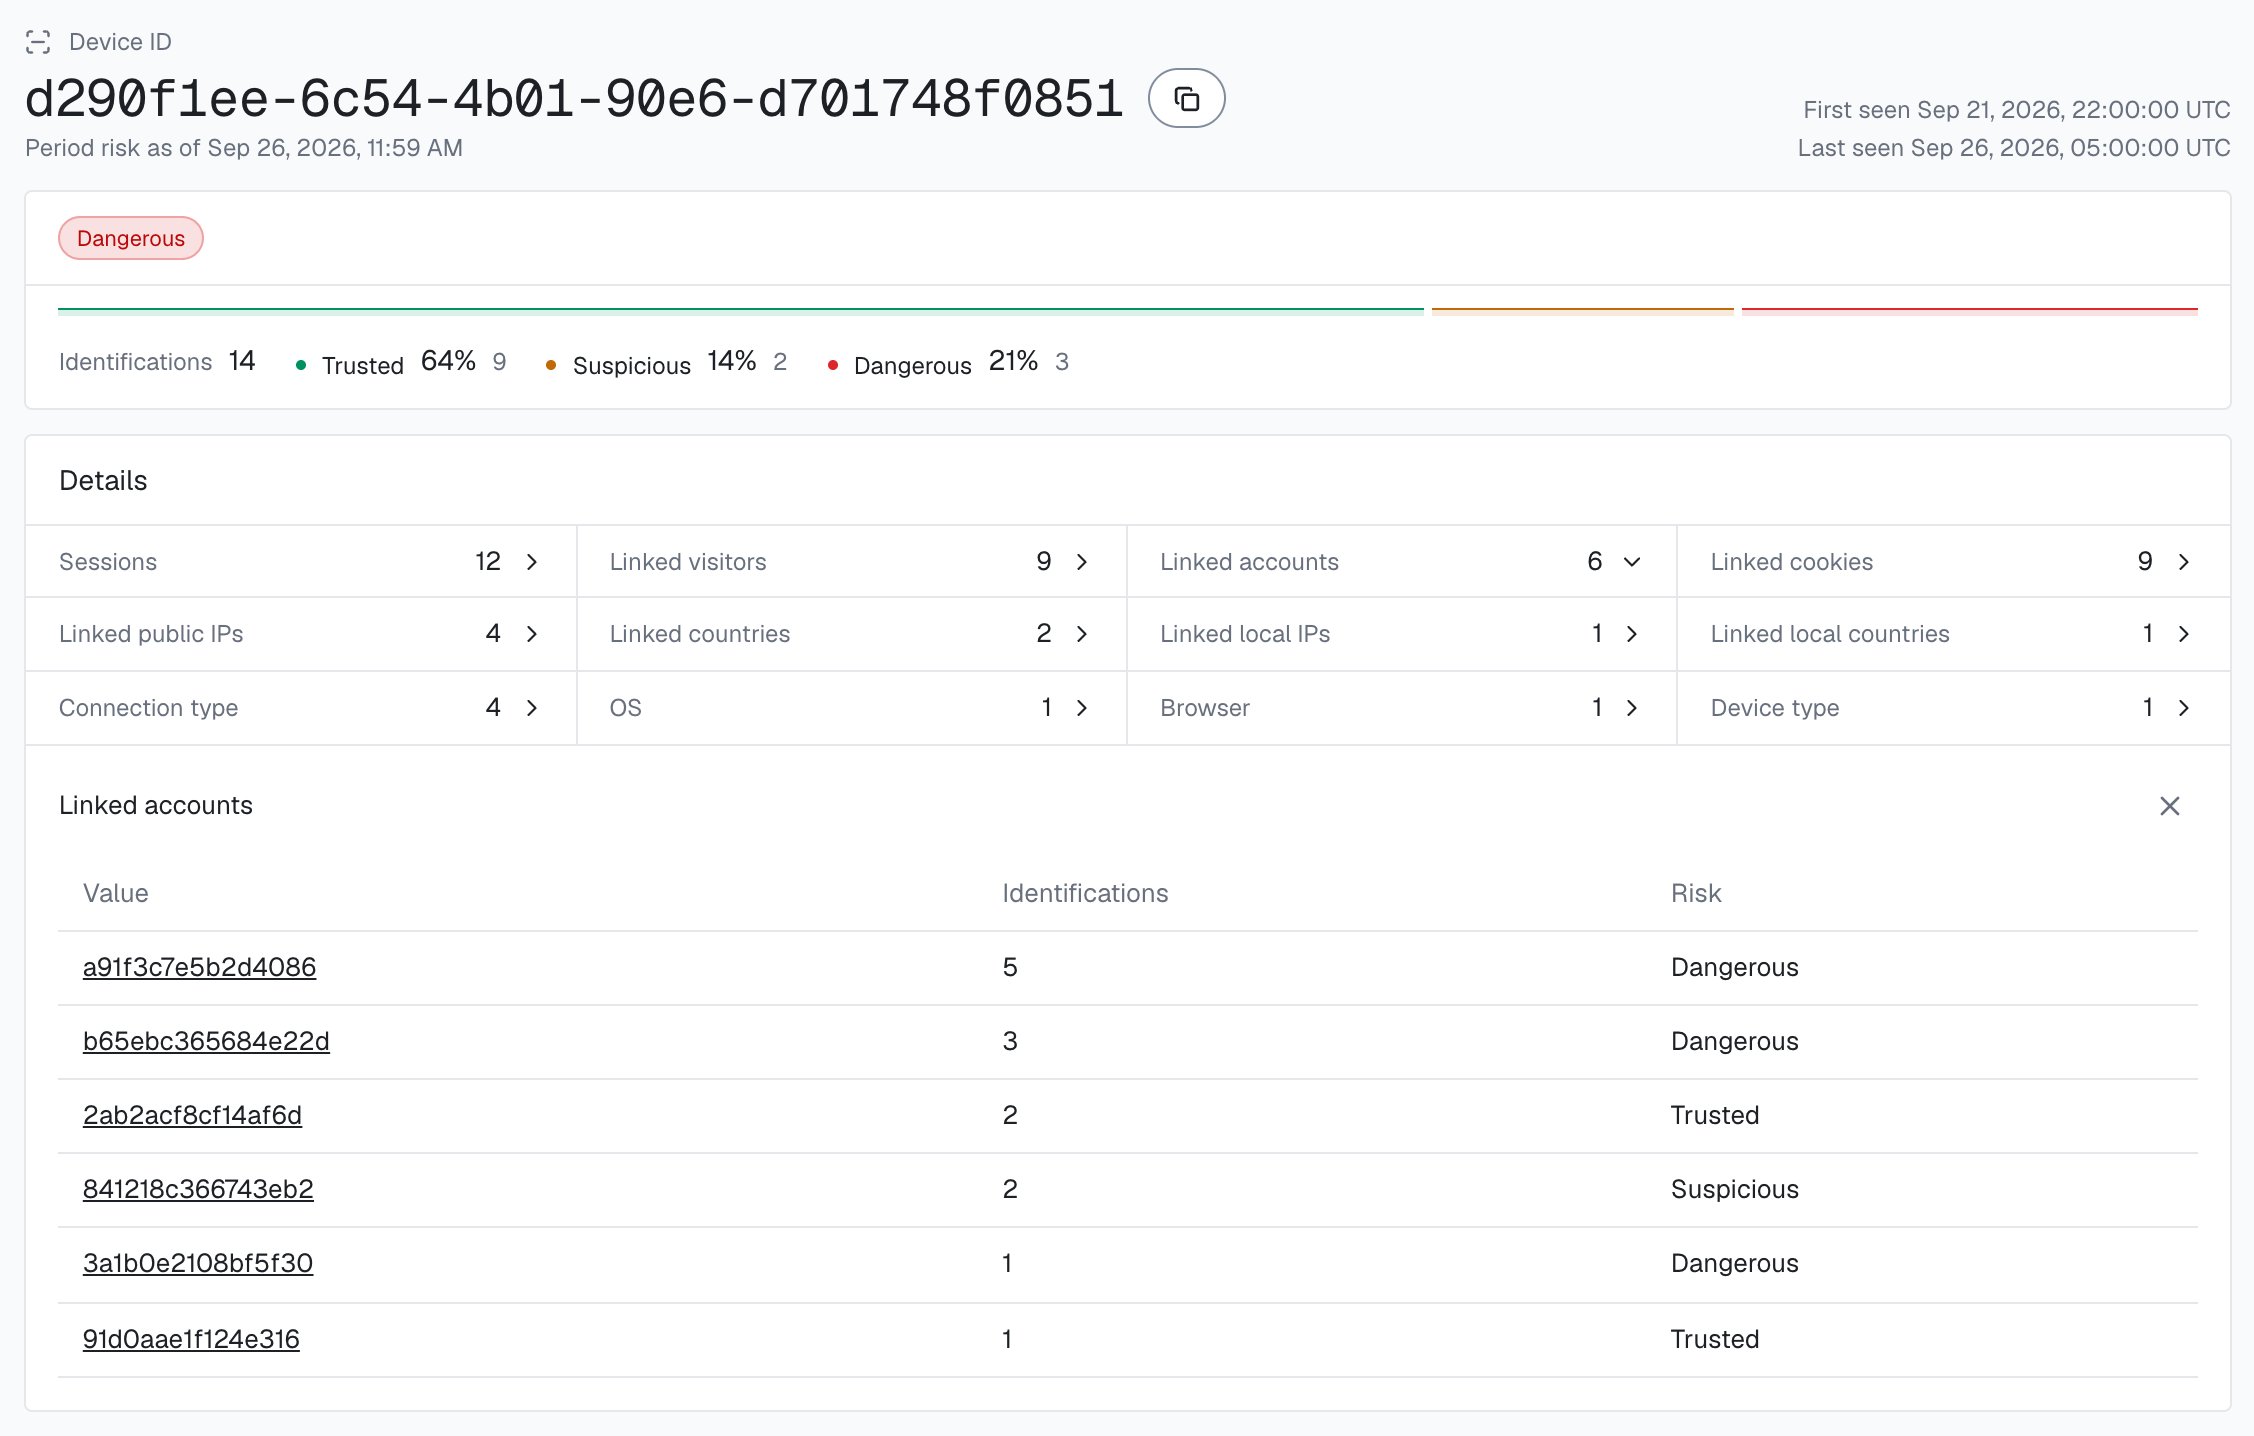
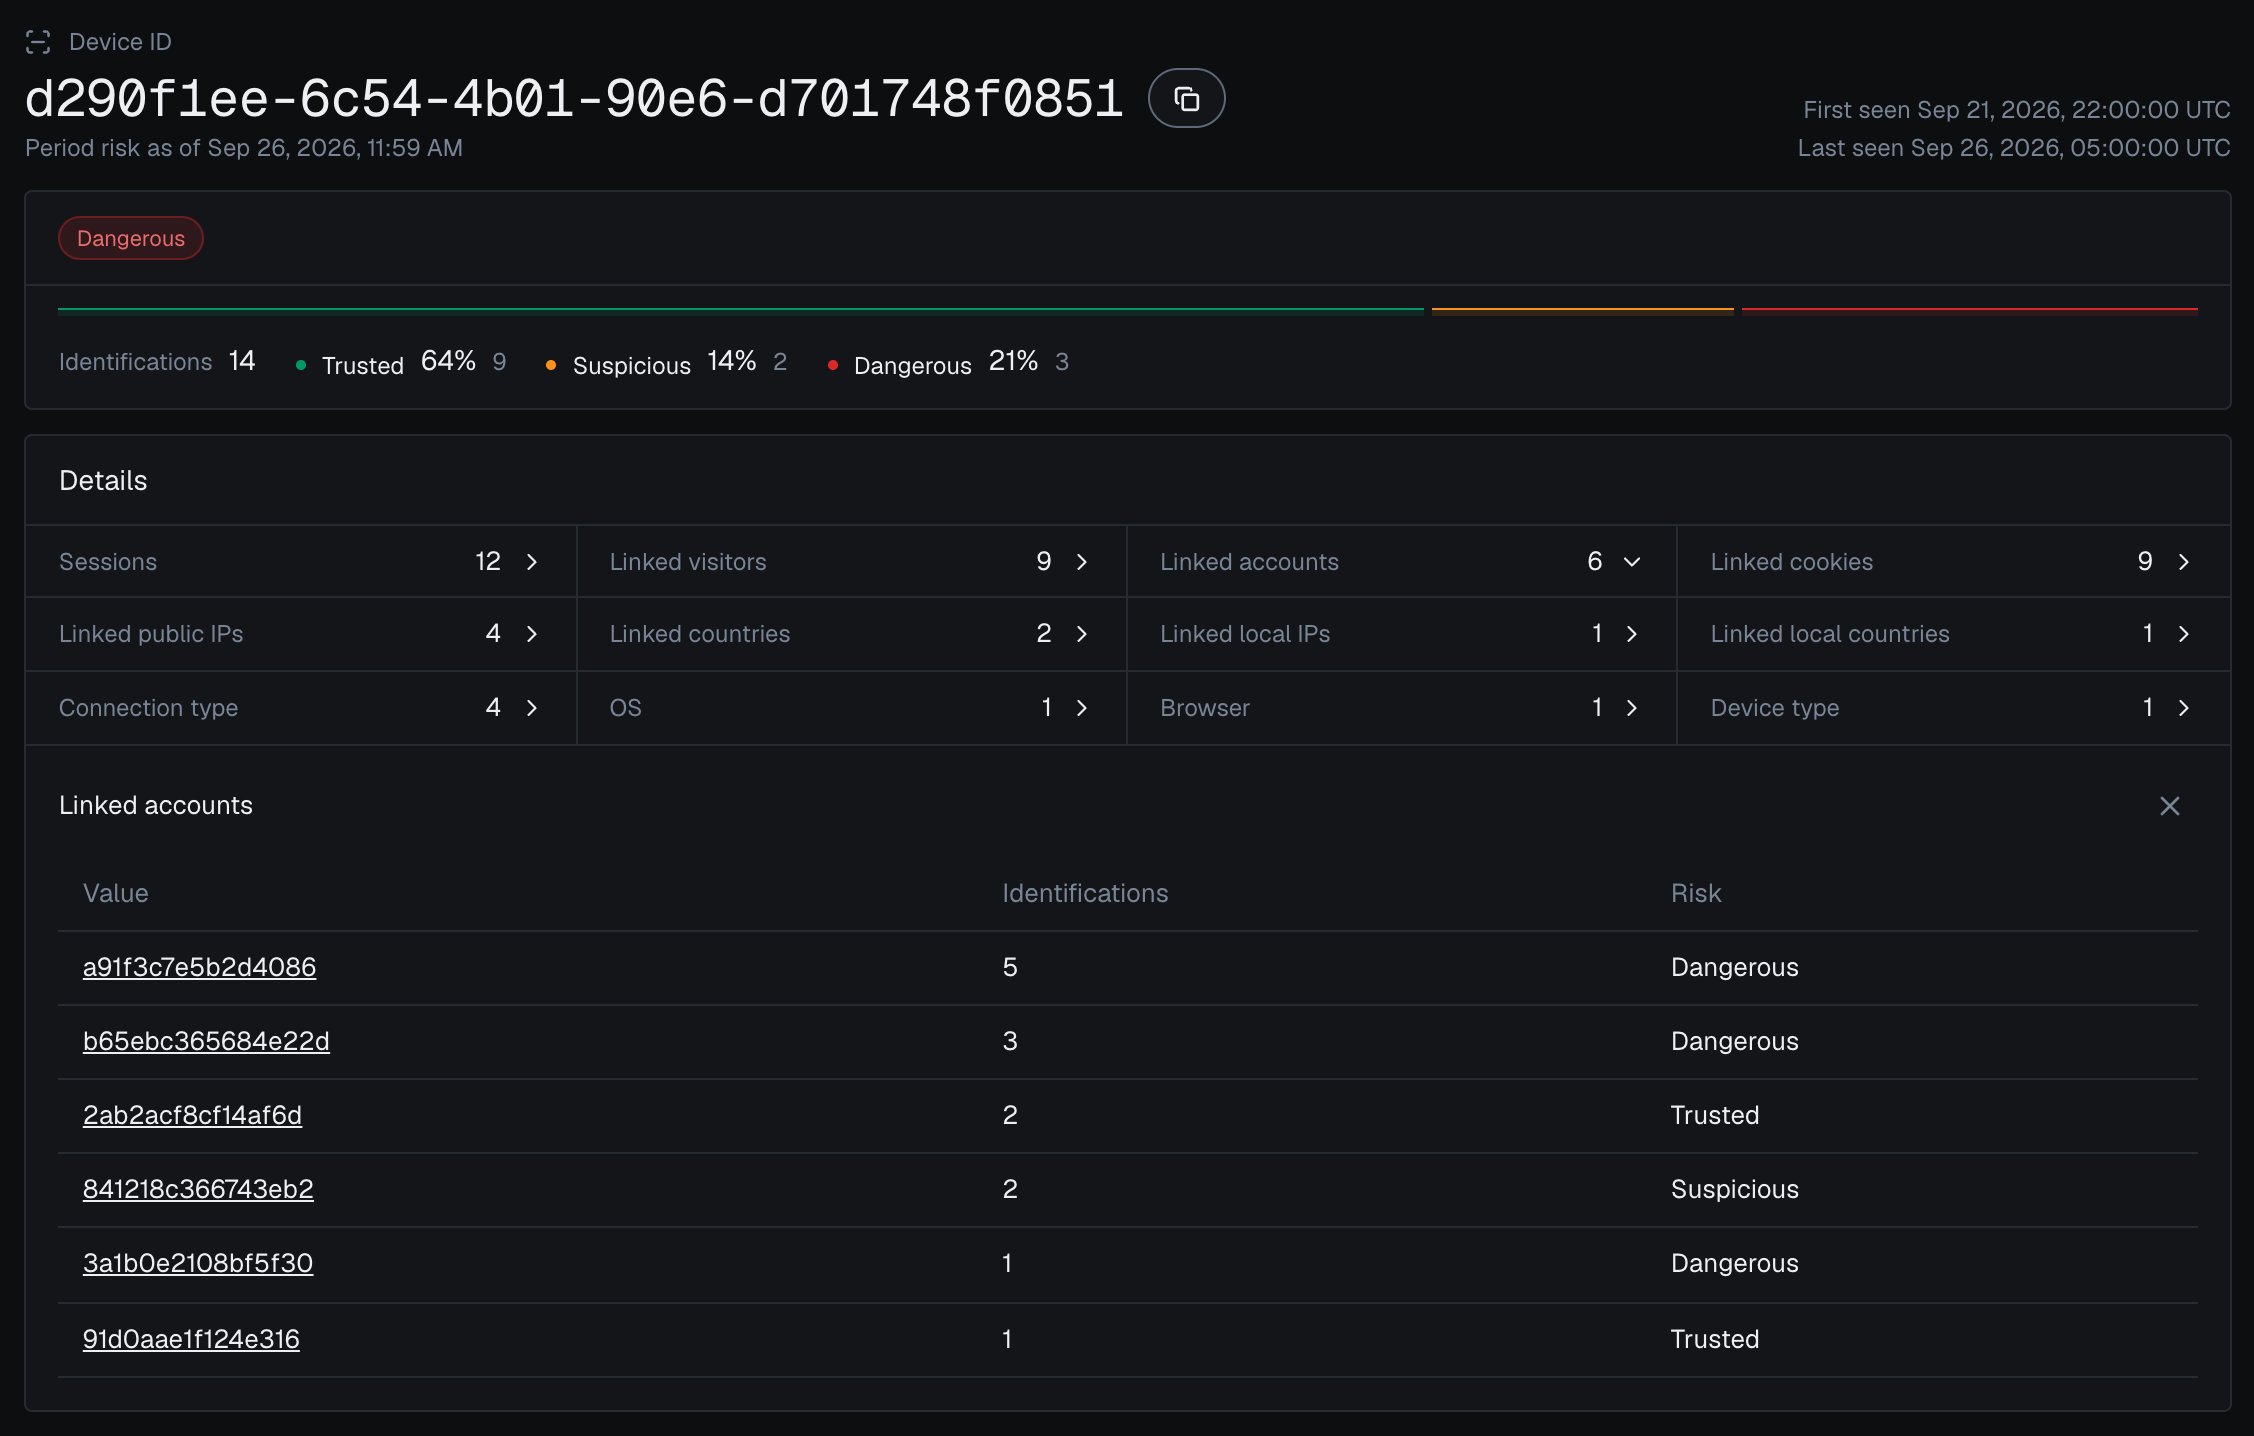
One Device ID in the analytics dashboard, with every account linked to it.
6
Tune to your product
Start in logging-only mode, watch where your real logins land across the bands and how many accounts your devices reach, then turn on friction for the highest-risk combinations first.
You do not need an attack to confirm the throttle works. Open your login page, complete an identification, and note the device_id on the webhook. Now repeat in the ways that should not reset it: a fresh incognito window, the same browser after clearing cookies and storage, and (where you can) a second public IP. Because the Device ID is server-derived rather than stored, the same device_id comes back each time, so your per-device counter keeps climbing across all of those attempts instead of starting over. Switch to a genuinely different physical device or browser environment and the device_id changes, confirming the key is tied to the device and not to anything a visitor can clear.