

- Pass a hashed User HID with
checkAuthenticatedUseron every signed-in page. Users, account-level risk and all four High-Risk Events are built on it. - The snippet runs an identification at the action: 300+ device and network signals, checked together, bots and automation included.
- A webhook delivers each identification about 300 ms after the check: the User HID, Device ID, Visitor ID, public and local IP, and the Risk Score (0-100) with every named risk signal and its weight. The History API returns the same identification by
request_id, and every identification of one account byuser_hid. - Map the Risk Score to the three bands in your backend: Trusted (0-29), Suspicious (30-59), Dangerous (60-100). A user, device, visitor or IP address takes the worst band of its identifications.
- High-Risk Events (Multi-accounting, Account sharing, Impossible travel, Account takeover) are detected on your users, each at Medium or High confidence, and are available in the analytics dashboard, the API and webhooks.
The logic every tutorial follows
Every tutorial is the same four moves; only the action and your cutoffs change:- Tie the action to the account. Identify at the action (signup, login, checkout) and pass the hashed User HID once the user is signed in; a login attempt is identified before the password check, so it carries no User HID. Each identification links the account to a Device ID, a Visitor ID and its IP addresses, and the Device ID holds through cleared cookies, incognito and IP changes.
- Read the account. Read the account’s identifications by
user_hidfrom the History API: its devices, visitors and IP addresses, and its worst band (theaccountViewhelper below). When a High-Risk Event arrives for a user through the API or webhooks, or when you review it in the analytics dashboard, act on the account: mark it in your own system, so its next action reads the mark. - Read the identification. The Risk Score and its named risk signals tell you whether this login, signup or payment is masked or automated right now. They remain the input at signup, login, checkout or withdrawal.
- Act in your backend. Choose the action for each case (allow, step up, review or block) from the band of this identification, the account’s history and any mark you keep for a High-Risk Event on the account.
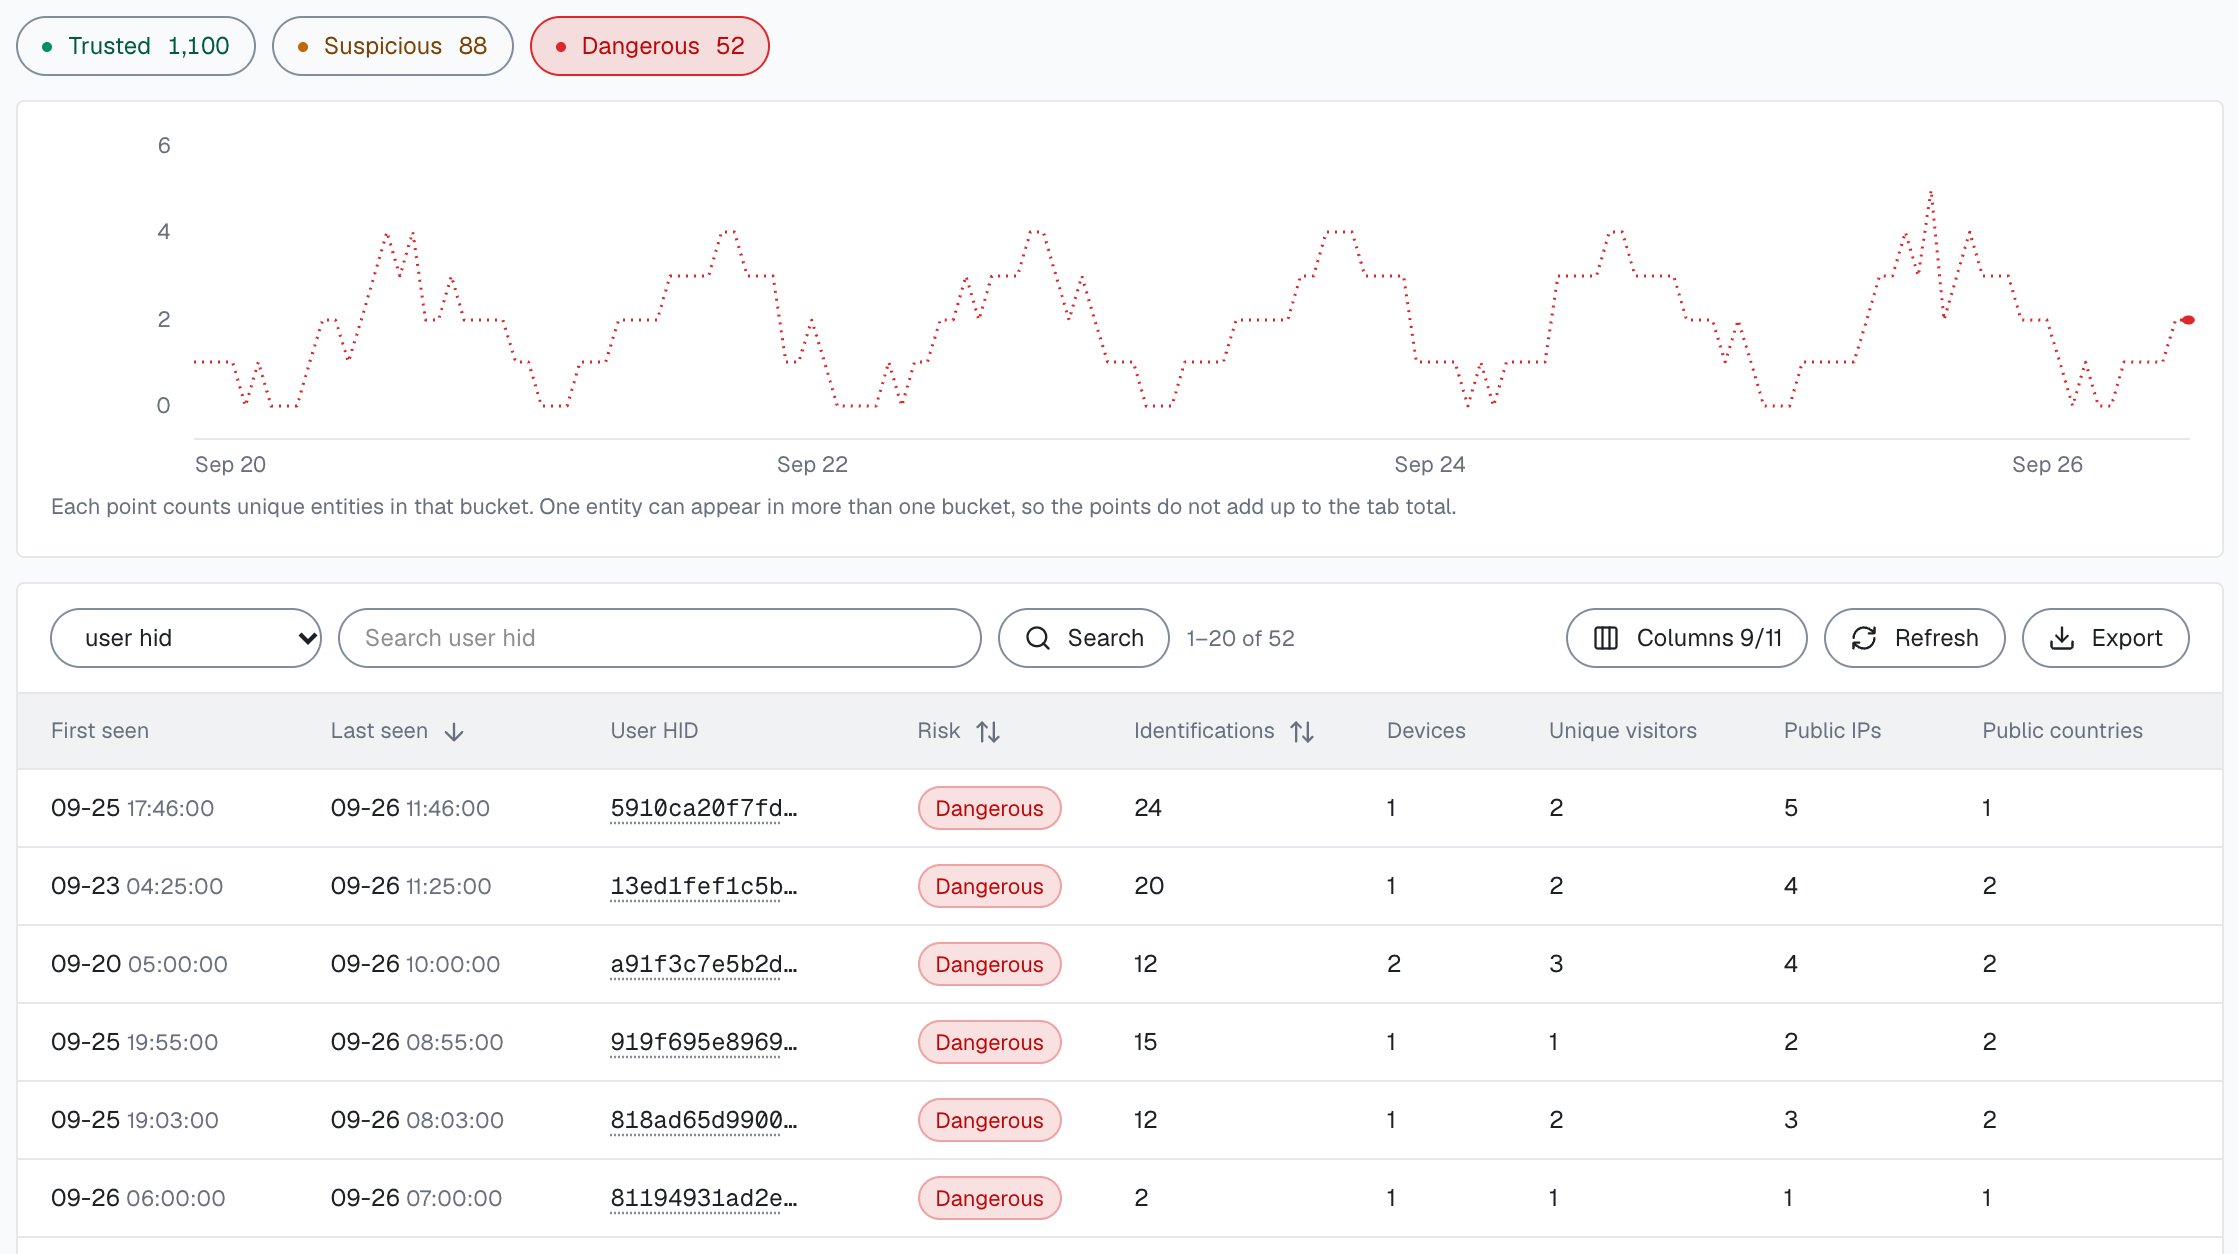
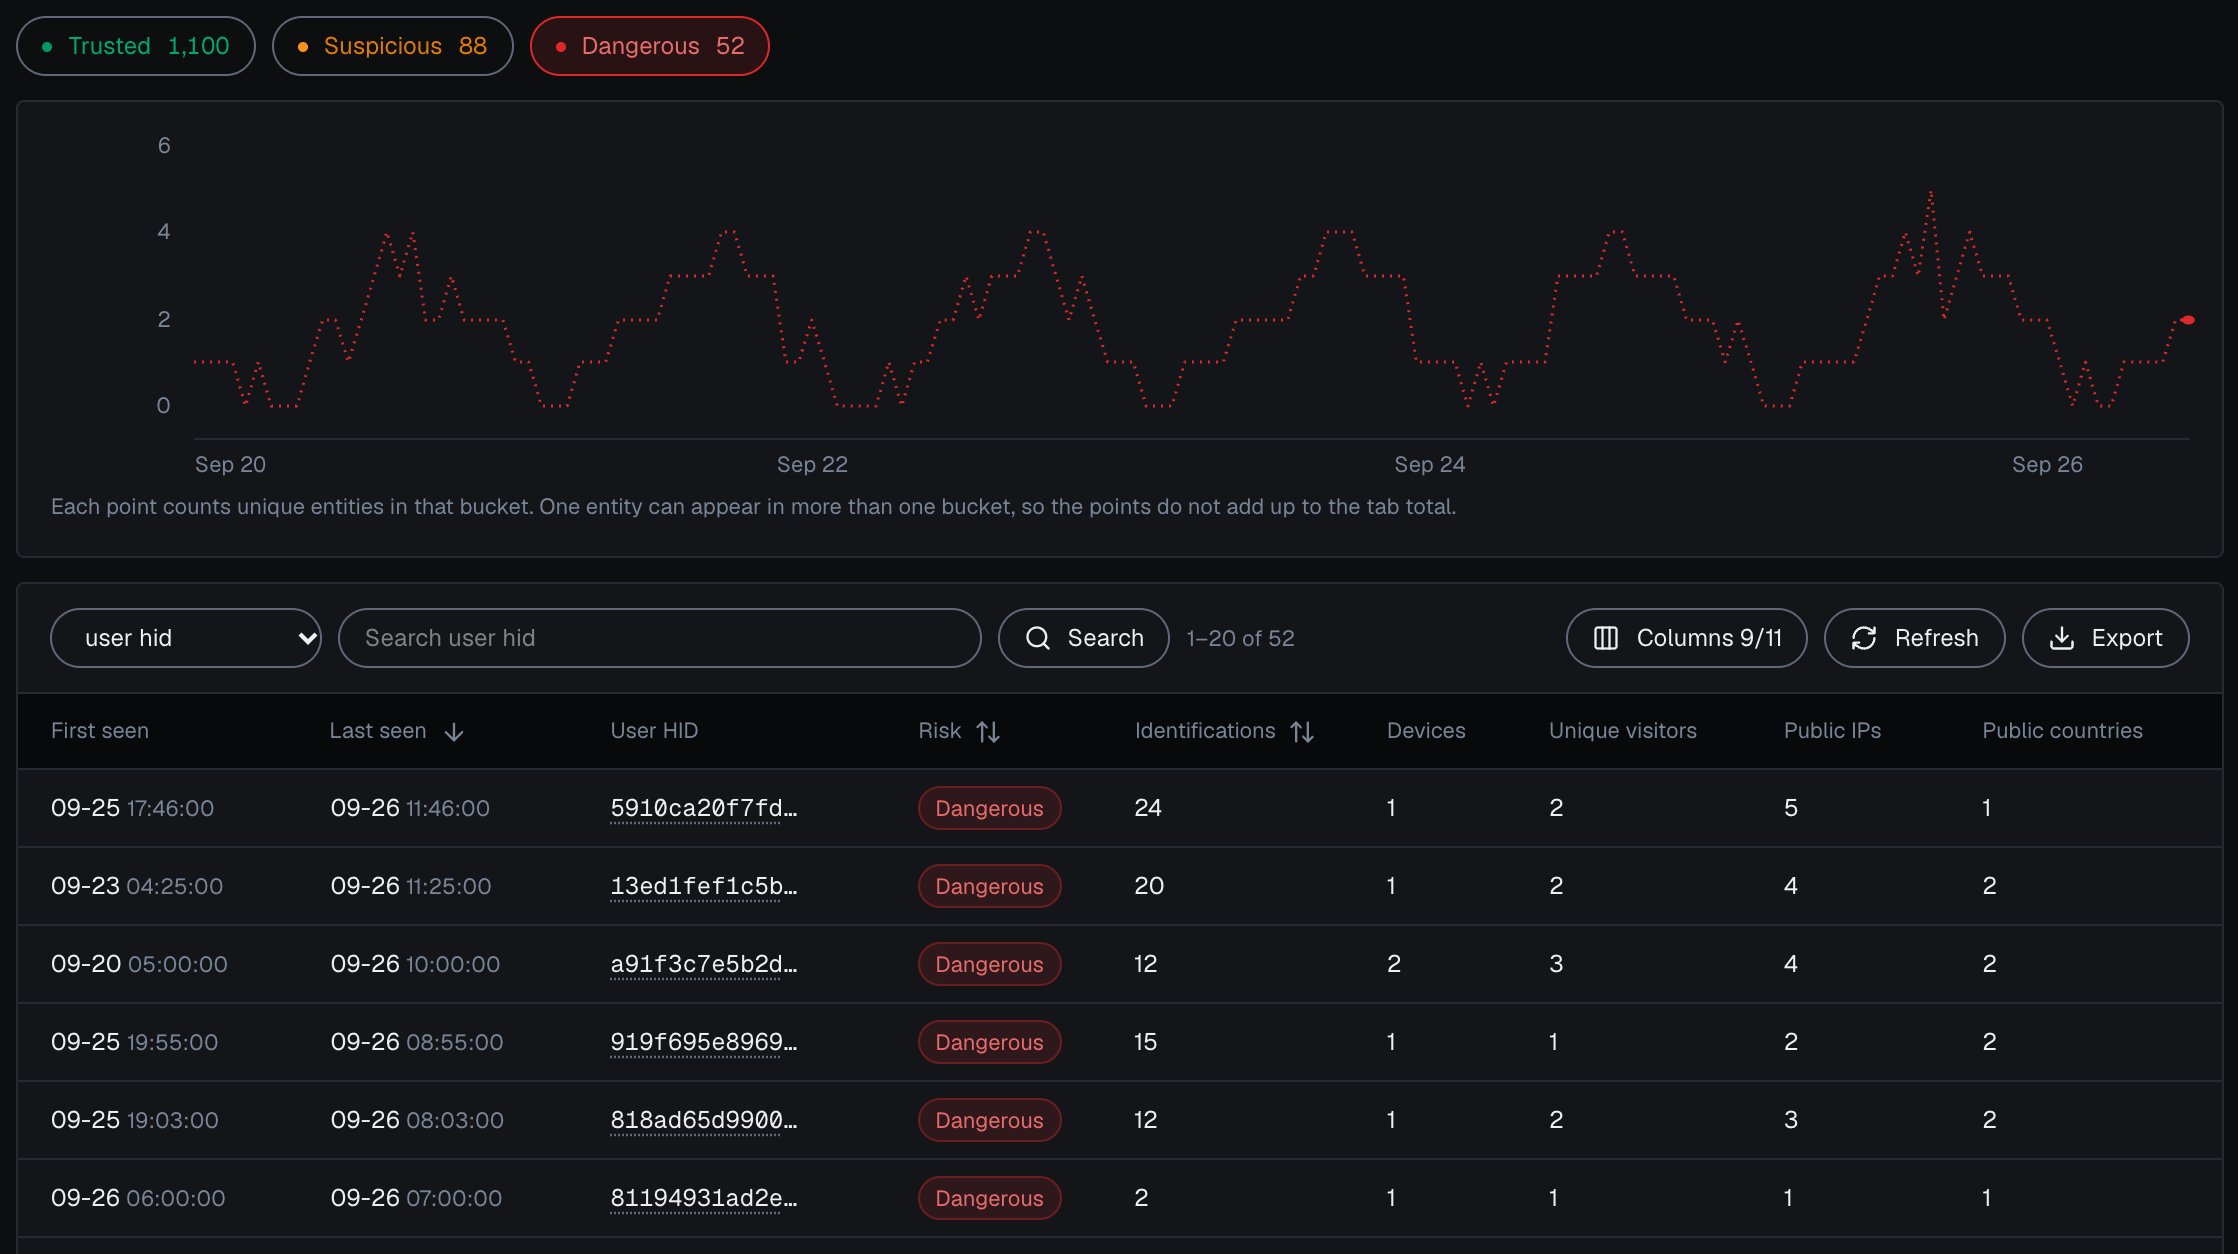
Dangerous users in the analytics dashboard, each with its identifications, devices, unique visitors and public IPs.
New here? Start with the Quickstart to install the snippet and receive your first Risk Score, then Acting on results for the decision pattern every tutorial below reuses.
Investigate
Investigate a Risky User
Find a risky user in the analytics dashboard, see what it is linked to and why, and act on it in your backend.
Accounts
Multi-Accounting
Detect one person running several accounts with the Multi-accounting event, the shape behind bonus, trial and loyalty abuse.
Account Sharing
See one account used from many devices with the Account sharing event, and enforce your sharing policy.
Account Takeover
Step up at login when a known account arrives on an unfamiliar device, and watch the accounts with an Account takeover event.
New Account Fraud
Catch fake signups at registration with the Risk Score, the Device ID and the accounts already linked to that device.
Ban Enforcement
Ban every device a banned account used, so a cleared cookie or a fresh account does not let someone back in.
Credential Stuffing
Throttle logins on the durable Device ID and add friction on bots and masked logins, so rotated IPs stop resetting your limits.
Login and 2FA
Identify every login attempt and step up to 2FA when the login or the account behind it is risky.
SMS Pumping
Cap verification SMS per Device ID and local IP so one device cannot flood your messaging bill with OTP toll fraud.
Promotions and rewards
Promo Abuse
Count the accounts and redemptions tied to one device to stop signup-bonus and free-trial farming.
Bonus Abuse
Catch repeat signup and deposit bonuses claimed through duplicate accounts on the same device.
Free-Trial Abuse
Spot new accounts cycling the same device to re-claim free trials and free-tier quotas.
Loyalty Fraud
See points and tier rewards farmed across many linked accounts instead of genuine activity.
Affiliate Fraud
Rank partners by the accounts they bring and the risky-traffic share of their clicks, so masked conversions do not get paid out.
Sybil Attack
Tie many wallets or identities back to one actor before an airdrop, vote, or quota pays out.
Coupon Abuse
Tie each redemption to the account and its Device ID to enforce one-per-customer codes and refuse reused single-use coupons.
Payments and content
Checkout
Re-identify right before payment, then challenge or hold orders carrying strong risk signals or a risky buyer account.
Chargeback Dispute
Reconstruct a buyer account’s devices and orders into evidence against friendly-fraud chargebacks.
Paywall Enforcement
Meter free views on the Device ID, which clearing cookies or opening incognito cannot reset.
Regional Pricing
Read the risk signals and the IP countries to catch VPN-masked region switching before you discount.
Card Testing
Anchor each checkout attempt to the durable Device ID so you can throttle card attempts and gate automated or masked checkouts.
Traffic and experience
Traffic Quality
Grade each source, channel and campaign by the users and devices it brings, to measure cost per real visitor, not per click.
Returning Visitor
Recognize a trusted account on a device it has used before and cut friction for it, the inverse of the fraud checks.
How every tutorial is shaped
1
Identify at the right moment
Load the snippet on the relevant page. Pass a hashed User HID with
checkAuthenticatedUser on every signed-in page. Users, account-level risk and all four High-Risk Events are built on it. Pass a hashed or pseudonymous account id, never a raw email.Within one visit (while a page of your site stays open in the browser, across route changes in a single-page app and across open tabs), checkAnonymous and checkAuthenticatedUser run at most one identification every five minutes for the same user. A call inside that window posts nothing, counts nothing, and its onInitialized handler receives { status: "not_initialized" }. On a multi-page site, a full page load in the only open tab can start a new visit with its own identification. At a sensitive action (signup, login, payment, withdrawal) call forceCheckAuthenticatedUser, or forceCheckAnonymous before sign-in: they run an identification every time, keep the current Session ID and restart the five-minute window, so the action always posts a fresh request ID to your backend. Start the forced check when the user begins the action (the first focus of the form, or when the page with the action opens) and let the form submit normally: onInitialized fires when the check starts, before the snippet has sent the identification, so do not navigate away inside it.2
Receive the identification and its Risk Score
Each identification carries the Device ID, Visitor ID and User HID with the public and local IP, alongside the explainable Risk Score and its
signals. Most tutorials key on the Device ID and the User HID together, not the score alone: the Device ID links the “new” accounts a farm creates, and the User HID ties every identification to its account. The webhook arrives about 300 ms after the check; when follow-up network checks run, it is sent once they finish, at most about 10 seconds after the check. Each identification produces one webhook. If a webhook is missed, read the same identification from the History API by request_id. Verify X-Shield-Signature on the raw body and make your handler idempotent on request_id.3
Act in your backend
Map the Risk Score to its band, read each named signal and its
weight, and add what you know about the account: its devices, its worst band and any mark you keep for a High-Risk Event on it. Persist request_id with your decision so every action is auditable.data object, shortened; all 18 keys are in the webhook reference):
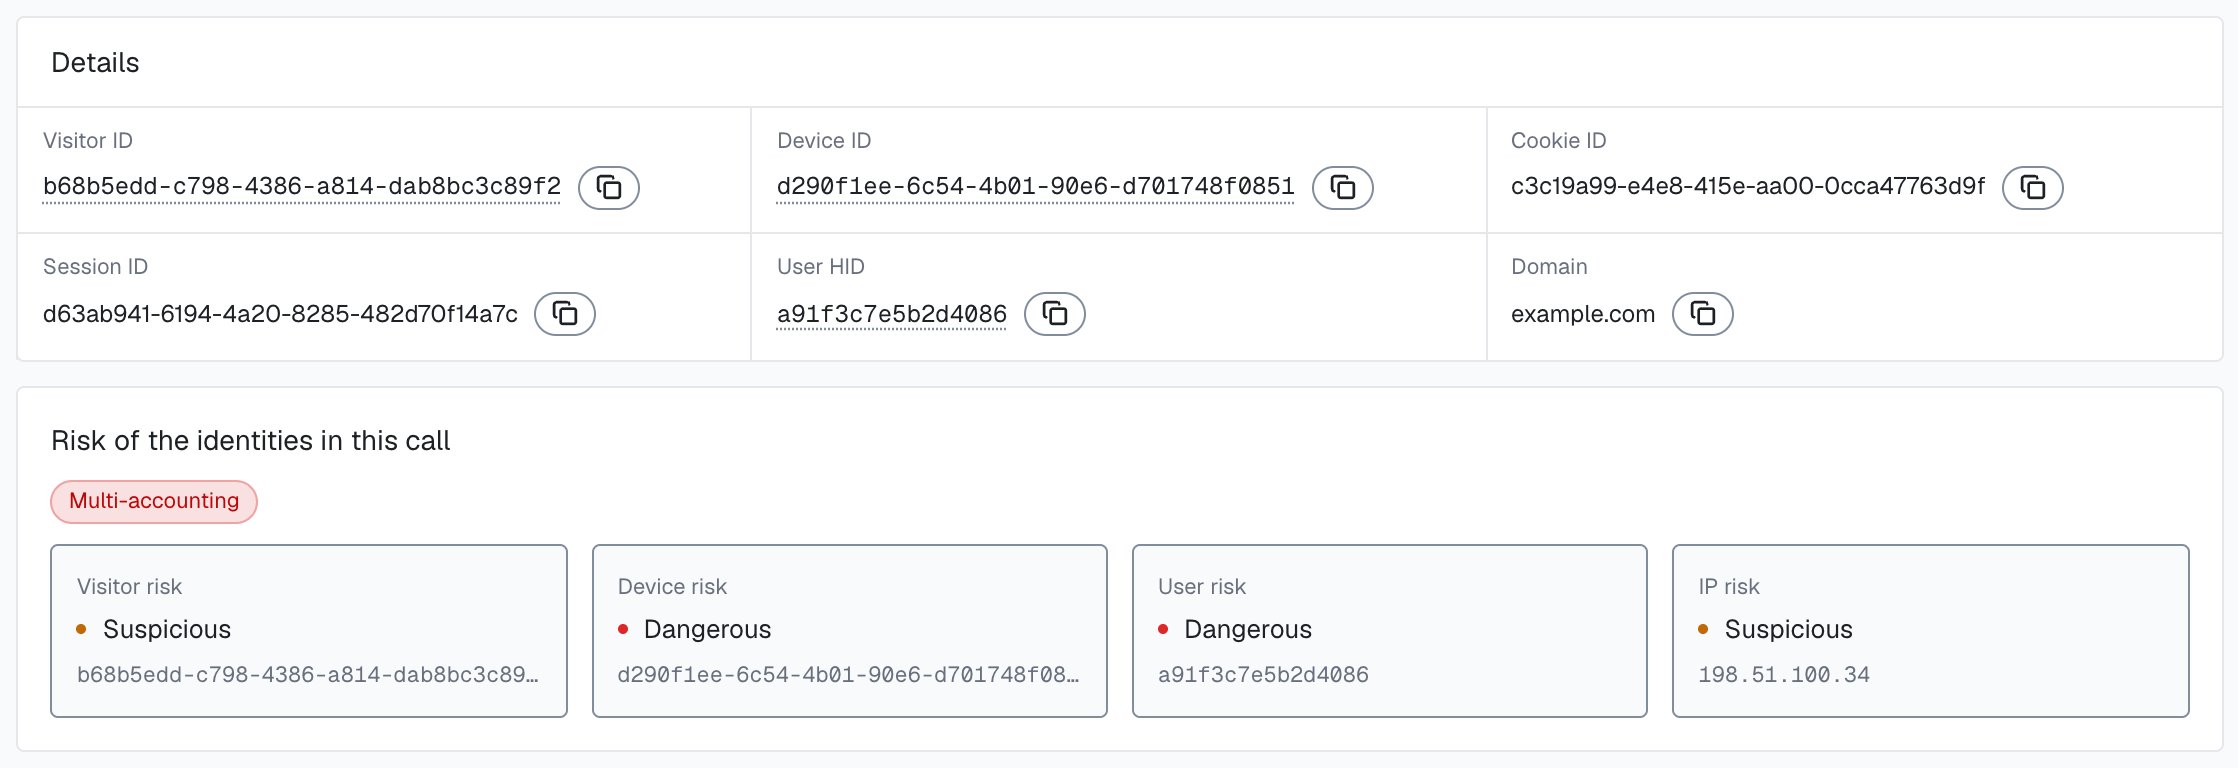
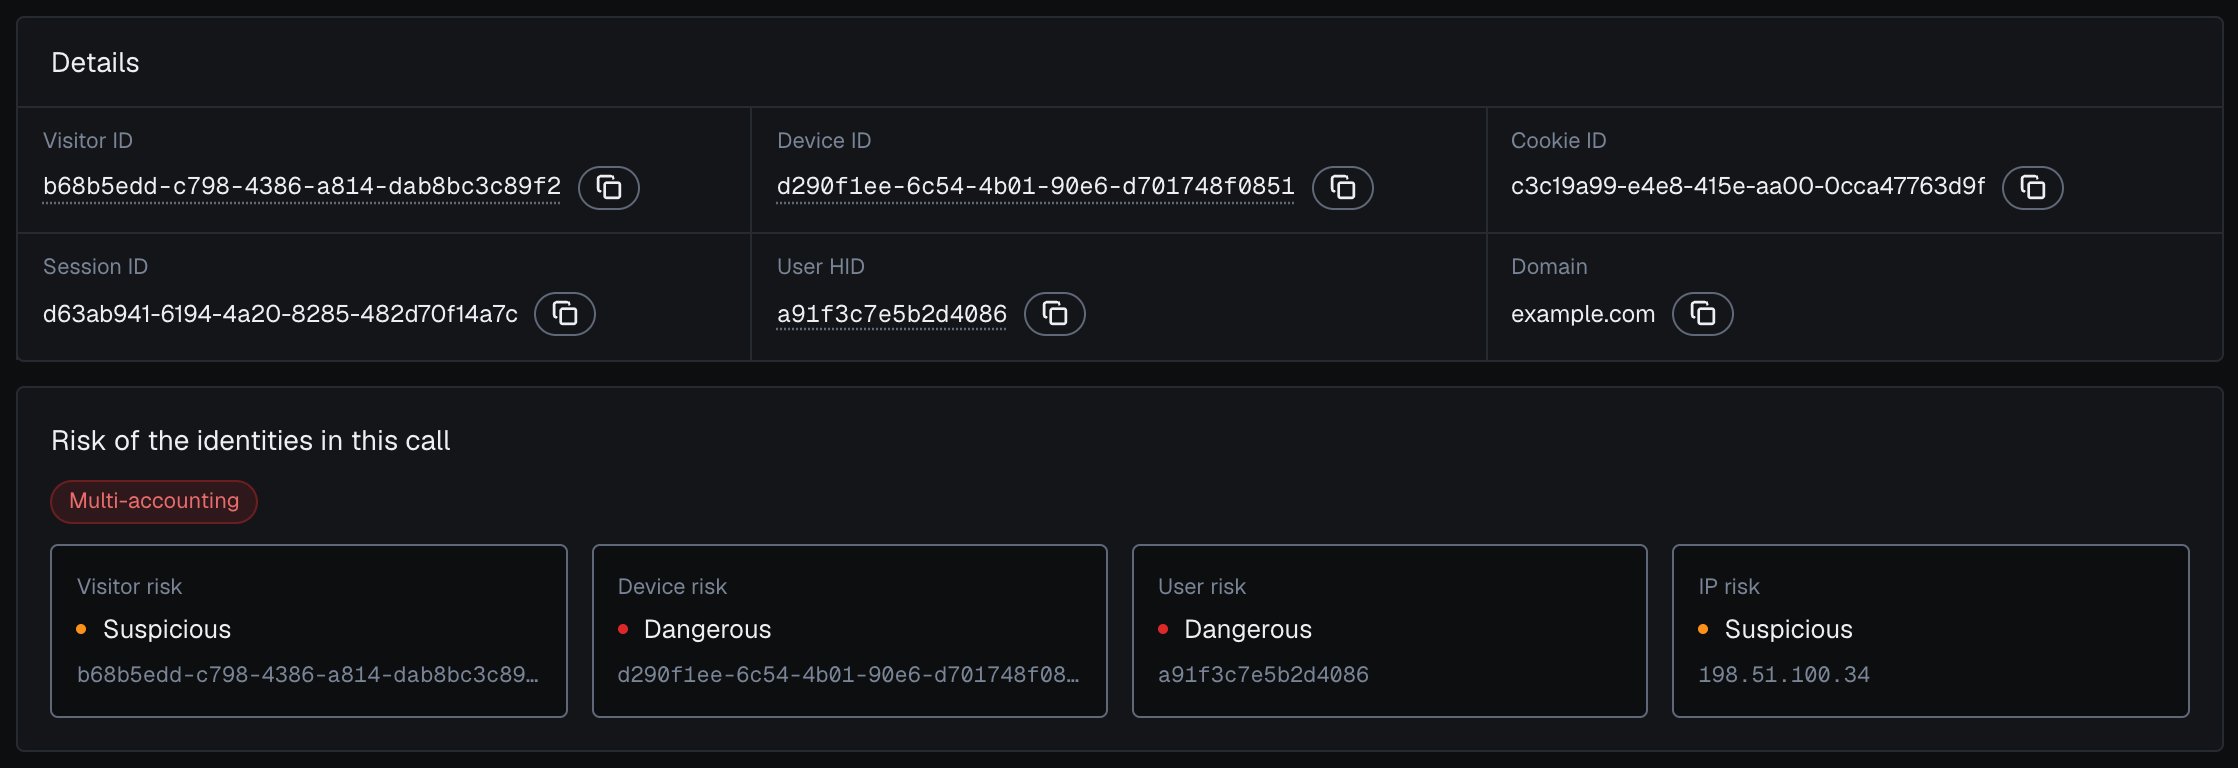
One identification and the risk of the user, device, visitor and IP it belongs to, in the analytics dashboard.
Branch on the band, on the
signals[].name slugs (for example antidetect_browser, browser_automation, tor), or on the boolean detection_flags. Slugs are stable. A slug can repeat with a partial weight when an earlier verdict is carried forward, so test for presence rather than counting entries. Weigh what each one means for your case: a 30 from one signal is not the same as a 30 from another.protected-action.js
The Risk Score runs from 0 to 100 in three bands: Trusted (0-29), Suspicious (30-59), Dangerous (60-100); the only value above 100 is the 999 rate-limit marker. The API returns the number, so map it to a band in your backend. Read a high Risk Score together with its named risk signals and the user’s history. A real customer on a corporate VPN can reach the Suspicious band; the signals show why, and you choose the action for each case. An all-zero Device ID (
00000000-0000-0000-0000-000000000000) means no usable device signals reached ShieldLabs for that identification; the rate-limit marker (Risk Score 999) is one such case. Route it to review rather than allowing it.The shared helpers
Every tutorial receives the Risk Score the same way: verifyX-Shield-Signature on the raw body, respond fast, store the identification by request_id, and let the request path read it back with a short timeout. The same file holds the History API read, the band mapping and the two account helpers. The individual tutorials call these helpers instead of repeating them.
waitForScore(requestId, timeoutMs)returns the webhookdataobject, or a History row mapped to the same field names, ornullwhen the request ID is empty, nothing is found or the read fails. Treatnullas unverified, never as clean.shieldlabsHistory(searchType, value, limit, offset)returns the Historydataarray: flat rows withscore,score_details,ip,countryandis_*flags, newest first.limitis 1 to 100; page withoffsetuntil fewer thanlimitrows come back.band(score)maps a Risk Score to Trusted, Suspicious or Dangerous. Guardscore > 100before you call it.accountView(userHid, { excludeRequestId, excludeSessionId })rolls up the newest 100 identifications of one user: their count, the worst band, and the sets of devices, visitors, public IPs and countries. It skips the 999 marker, never counts the all-zero Device ID as a device, and can leave out the identification being decided (excludeRequestId) or the whole current session (excludeSessionId).accountsBehindDevice(deviceId)counts the distinct accounts seen on one device."anonymous"is not an account. Both account helpers throw when the History read fails; catch the error and route the action to review, since a failed read is unverified.
shieldlabs-helpers.js